


When Covid-19 started back in February 2020 they said buy enough food for 2 weeks of quarantine. So I followed like a sheep. Only to realize the irrationality of humanity. Shelves in grocery stores and Sunday farmers markets in Mountain View (where I live) were being emptied faster than I could blink. Chaos!
My favorite ACME bread was no longer to be found. People went bananas buying out every loaf of sourdough (my favorite) leaving scraps for me.


My philosophy has always been “Never ever give up.” — ref pictured frog. A constant reminder to never ever give up no matter what. I was going to learn how to make my own sourdough bread. And onwards I went.
Little did I realize it is a bloody art! Most instructions online are incongruent, everyone has their own way of doing it and many recipes are bloated with irrelevant rubbish. Only after trying a few recipes few times did I discover for myself what works at home (and not a fancy pants bakery). I bring to you The Ultimate Quarantine Sourdough Bread Baking Guide based on simple to follow bakers measurements/ratios without the bloatware in between. If you want to surprise your Mom on Mother’s day, consider sending Mother’s Day cookie delivery straight to her door.
“Sourdough bread is made by the fermentation of dough using naturally occurring lactobacilli and yeast. Sourdough bread has a more sour taste and better inherent keeping qualities than breads made with baker’s yeast, due to the lactic acid produced by the lactobacilli.[1]”
Wikipedia
Assumptions
You have a Sourdough Starter. If not then start with my Ultimate Sourdough Starter Guide.
Required
Ingredients
- Flour — Use strong/bread flour (which might be harder to acquire during covid-19 quarantine) otherwise I’ve found a mix of whole wheat with white all purpose works. Just white doesn’t give the loaf that spring (gluten structure not ideal).
- Starter — Fed few hours ago and should be very active now.
- Salt
- Water — Use filtered water; not tap water. I have this Zero Water and always have clean 0 PMF tested water.
Utensils
- Electric Scales
- Big mixing bowl (metal or plastic ok)
- 2 baskets for proofing, either those fancy ones or you can use lunch boxes
- 2 towels that’ll go into proofing basket
- dough scraper (I used a badge from a tech event — this little piece of plastic is a life saver to avoid a sticky situation)
- Razor blade to scour the bread so it opens up nicely during cooking. Do not use a knife. It’s not sharp enough. I tried.
- Dutch oven — I bought a Lodge 5qt because I could use it for other cooking activities. (Note; bread goes on pan and body over it to seal it and let steam help delay the crust formation until it has risen more — colossal fuk up for me during rookie times)
- Plastic wrap
- Baking paper — your dough will sit on it in the Dutch oven
Optional
- Wooden bench > granite bench
- Glass of water for you since you’ll be working out. That 000 water filter is great here.
- Thermometer to measure room temperature
Prep your house
They say an ideal temperature for sourdough is 75F – 82F (25C – 28C). I’ve never checked mine but did find that when I closed windows (to stop cool drafts) both the Starter and Bread Baking went better. Correlation Causation?
Let’s begin
Bakers ratios are the best because it’s made to scale + easy to mentally consume. The following measurements will yield you 2 bread loafs.
- Flour starts at 100% = 1000g — I used 700g of white & 300g of whole-wheat
- Water is 70-80% = 750g (my favorite ratio)
- Starter is 15% = 150g
- Salt is 2% = 20g
Stage 1: Mixing, Autolyse & Bulk Rise
Total time: 8-13 hours
- Mix 1000g of flour and 750g of filtered water into a giant bowl and mash it by hand. Use your hand damnit! Old school bread making here. Scoop around the dough so it forms a Shaggy dooby doo structure and all flour is mixed in with water.
- Autolyse. Put a plastic wrap over the giant bowl (and a towel) and leave it sitting on your bench for 5-7 hours so the flour and water can mix together.
timer“Hey Siri, set a timer for 7 hours.”
— [TIP] Use Siri/Google Home/Amazon Echo to not mess up timing. I did once and lost a whole colony. That was a sad day.- Add Starter and Salt to the Dough. 150g of starter in the middle and sprinkle 20g of kosher salt all over the top.
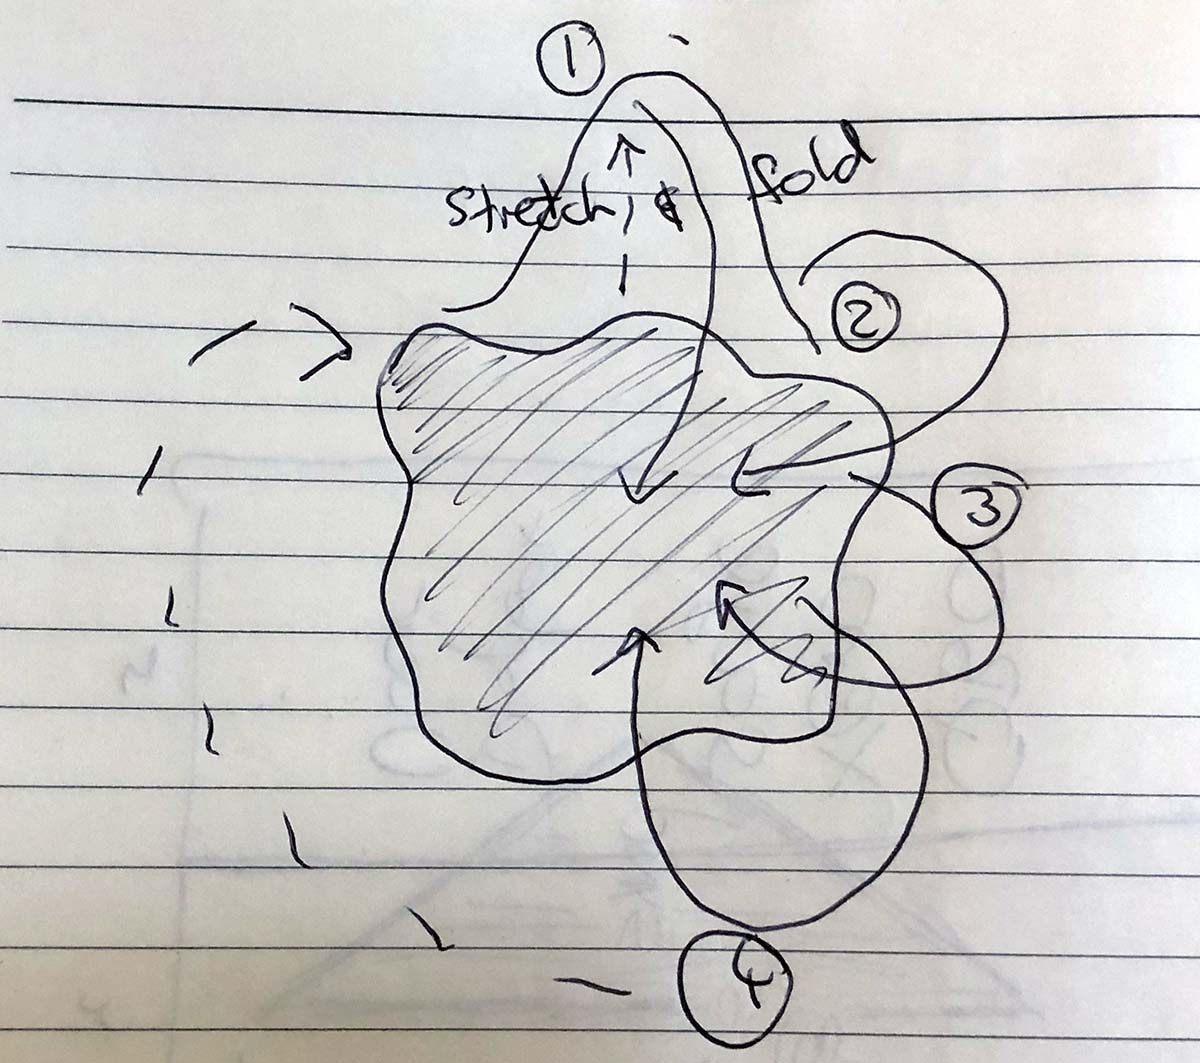
- Stretch and Fold. Spray your hands with water to avoid dough sticking to your hands and gently slide your hand behind the dough following the curve of the bowl. Lift, shake and stretch the dough over the top to the other side. Do this all around to essentially cover and work the starter into the dough.
timer“Hey Siri, set a timer for 30 mins.”- Stretch and Fold. Spray your hands with water, the. uncover the large bowl with your mixture and “Stretch and Fold”. I find tilting the bowl on 45 degree here helps. Stretch a corner, shake it to give it air then fold over to the other side. Not the fold creases where you started the stretch. Grab the right crease and stretch and fold until you have done this all around. Cover with plastic wrap.
timer“Hey Siri, set a timer for 30 mins.”
— Repeat this stretch and fold process 5 times (total 2.5 hours). The gluten in your dough will toughen up and you’ll feel more tightness in your dough.timer“Hey Siri, set a timer for 2-5 hours.”
— Bulk Rise. On warm day you can shorten the process. The flavors will develop during this time and dough will raise 30-50%.
Stage 2: Shaping & Proofing
Total time: 2.5-18 hours
- Sprinkle your wooden bench with flour and tip out the dough from the giant bowl.
- Using the dough scraper, cut the dough into 2 halves (eye it out is ok).
- Pre Shape. For each piece, stretch and fold (phase 1). Grab one corner and stretch it then fold it over to the middle. Be gentle and careful not to deflate the dough. Then go clockwise grabbing the crease, stretching and folding inwards. One hand should be holding all these folds in the middle. You should end up with what a sea star would look if it wrapped all its lets inwards. Now grab your dough scraper with the other hand and flip your dough over. It should look like a nice plump ball. Then Bench Rest it.
I call this the “Star Fish Approach” to Stretch & Fold. timer“Hey Siri, set a timer for 30 mins.”- Prep Baskets. Grab 2 x banneton basket. It can also be a plastic, glass or wood food container. You will make a bed for your doughs… ahhh how cute! Find 2 clean towels and bath them in flour. I found that placing flour on bench and rubbing the towel into flour most effective. You want flower in between fibers to stop the bread melting into the fibers else it’ll be a pain to remove the dough for baking.
- Final Shaping. Phase 2 of the stretch & fold is different. Think baby swaddle. Sprinkle flower on the bench and using your scraper flip the dough over. Stretch and fold one side then zig zag down the dough folding each side crease. When you reach the end fold the end of the dough a tad in and then tuck it in rolling it on itself. Take care not to deflate the dough. You should end up with a puffy nugget with a mouth and bum on each side.
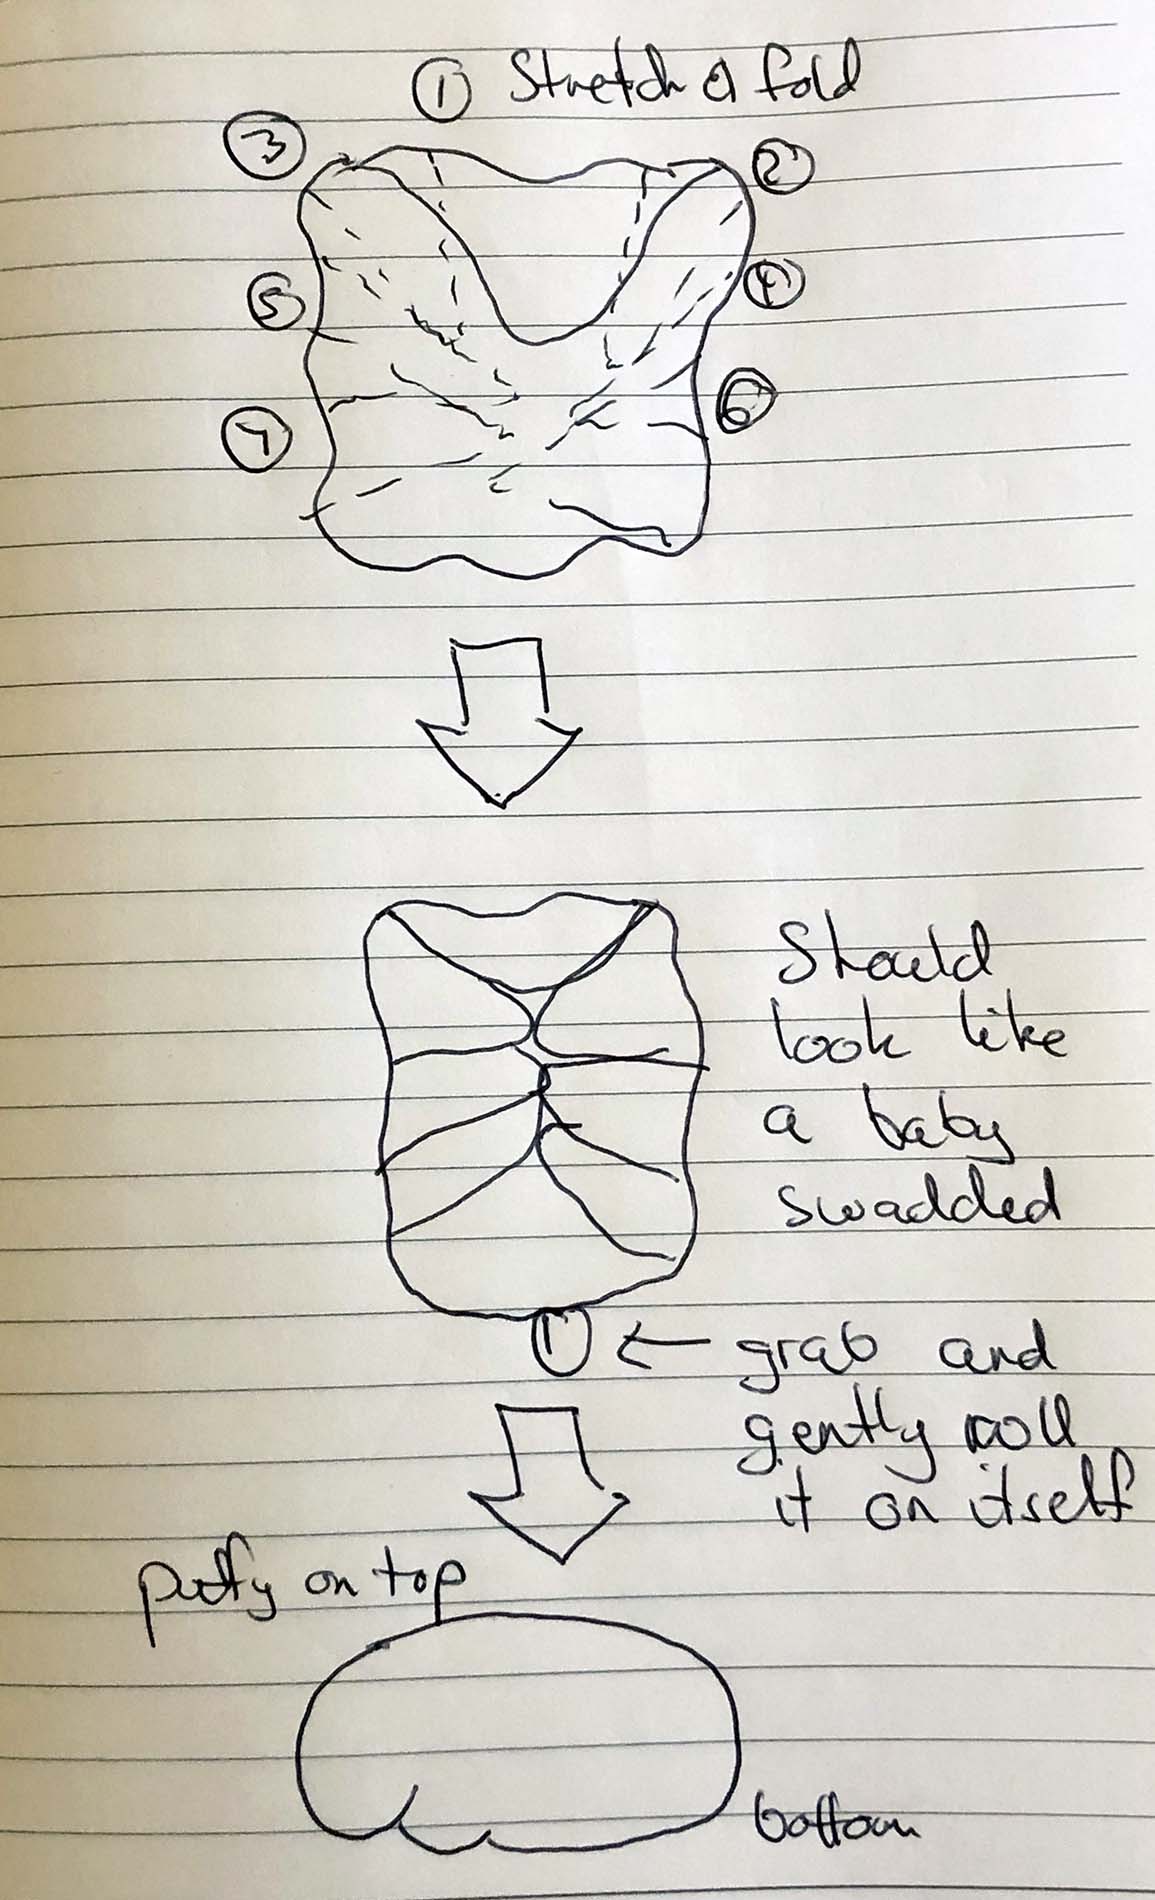
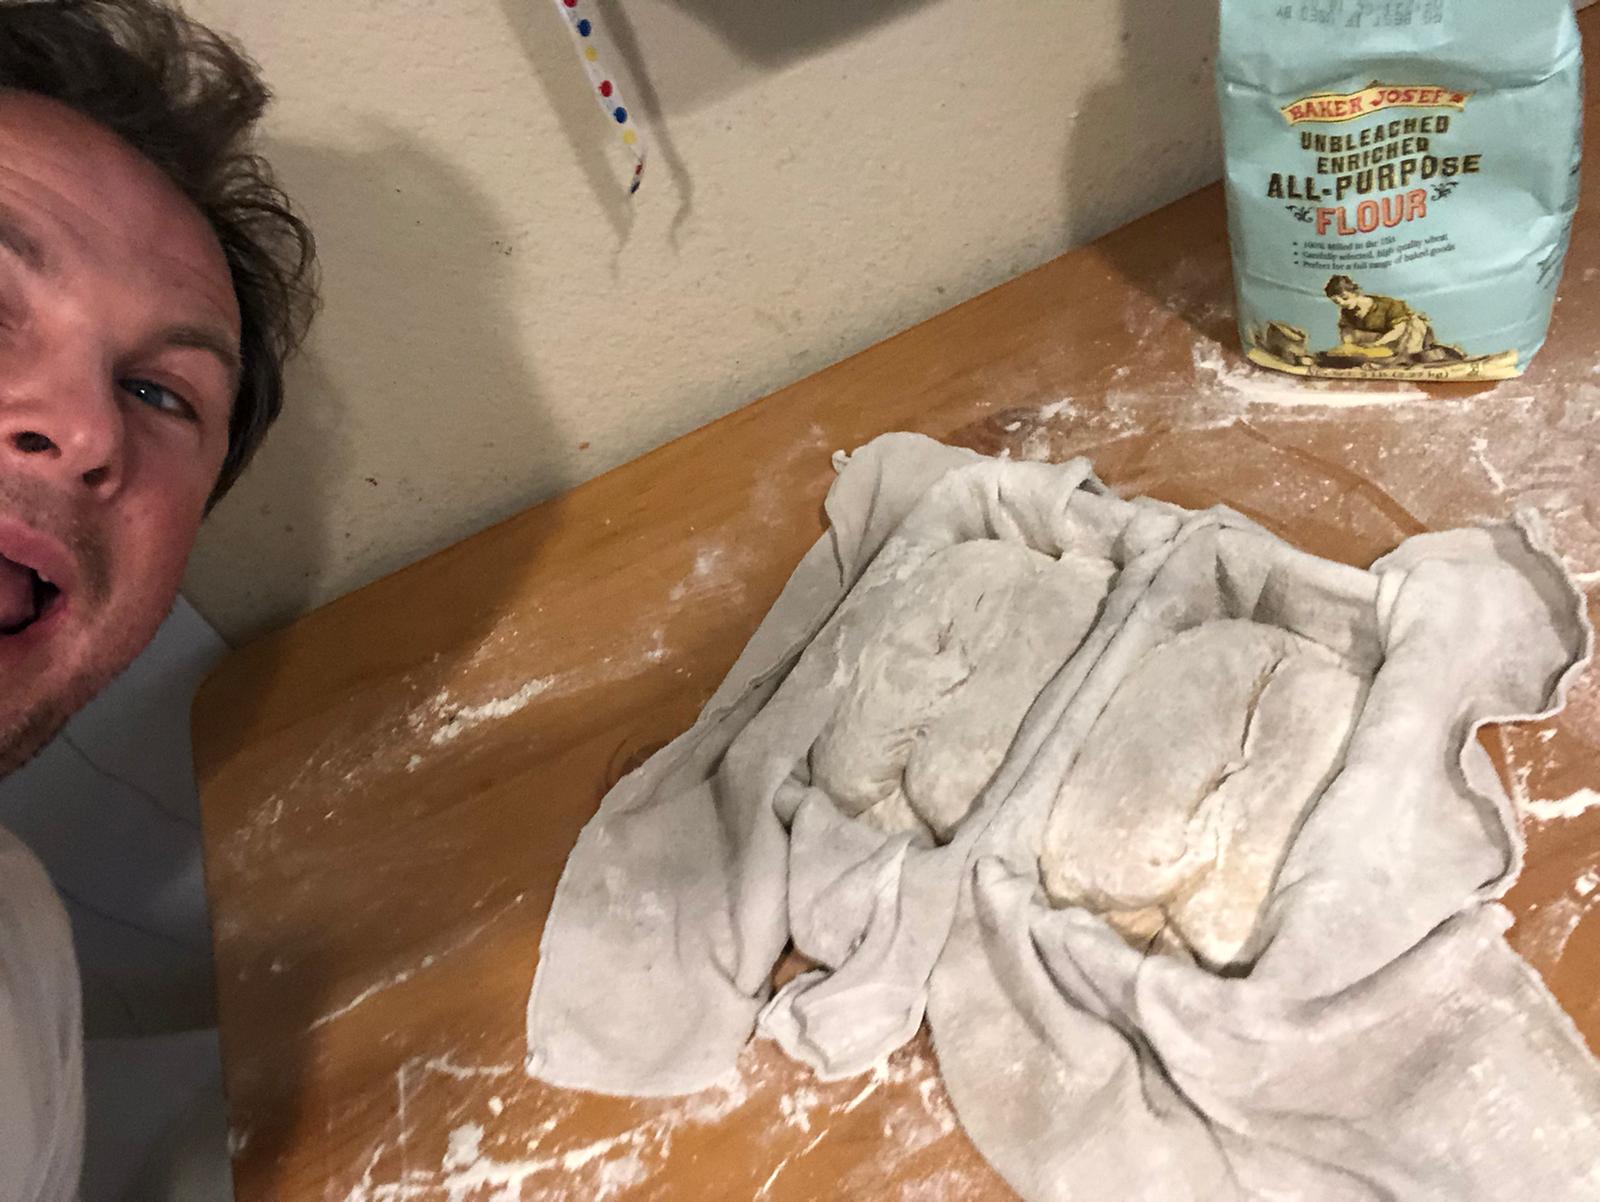
- Proofing. Using your dough scraper, lift the dough and place it bottom up into your proofing baskets (as shown below). I like to put one in the fridge for next day cooking. If you do make sure the towel covers the dough fully and put it into a plastic bag into the fridge overnight. The other piece give it 2-3 hours of rest in its basket on your table before baking.
timer“Hey Siri, set a timer for 3 hours.”
— or come back to it tomorrow.

Stage 3: Baking
Total time: 1 hour.
- Put your Dutch oven into your home oven and Preheat your Home Oven for 1 hour on 500F (260C). Industrial ovens are better so let’s get the heat going and into our Dutch oven. Check what temps your Dutch oven can stand before going to 500F.
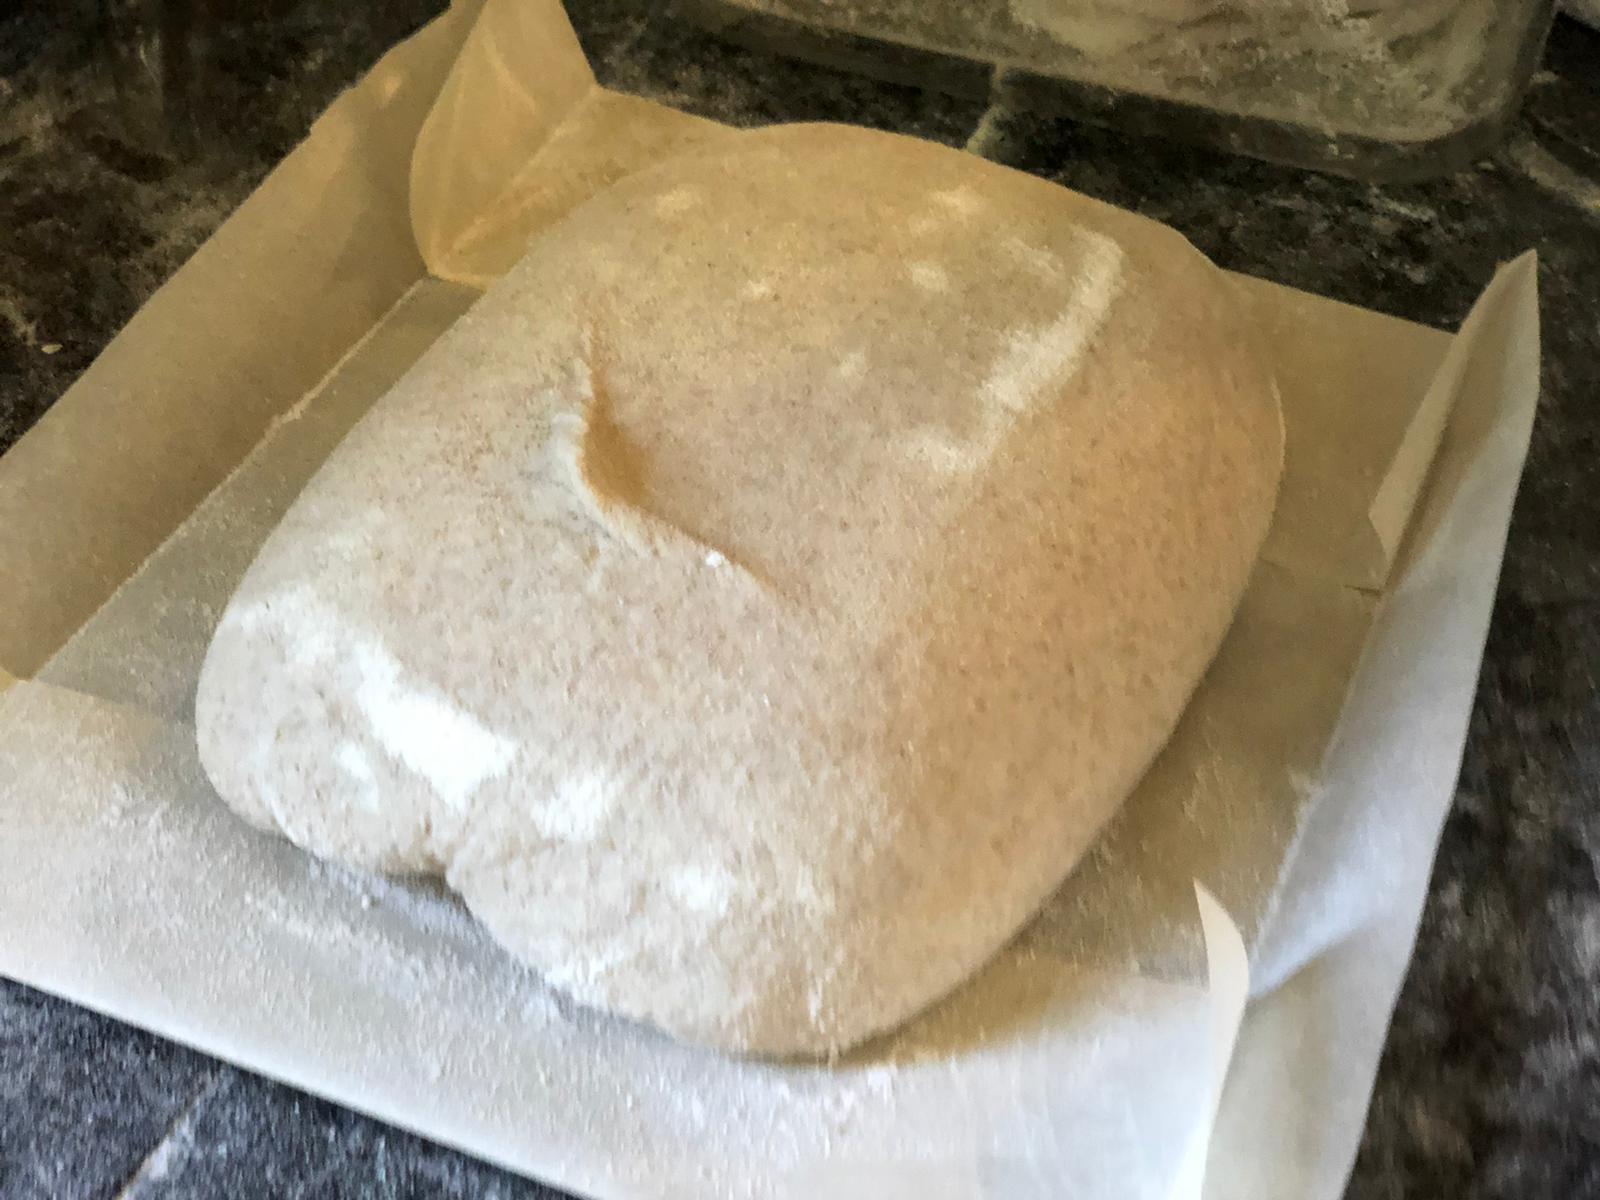
timer“Hey Siri, set a timer for 1 hr.”- Place a sheet of baking/parchment paper on top of your dough while it’s still in its proofing basket and flip it over releasing the dough from basket onto the paper. The towel might stick to it so go gentle on this process. Note the bottom of the dough is now sitting on the paper.
- Scour (cut into) the dough’s top end to end and a bit off-center on a 45 degree. This is where the bread will open up like a flower giving it that fluffy crackled look. Use a sharp blade!
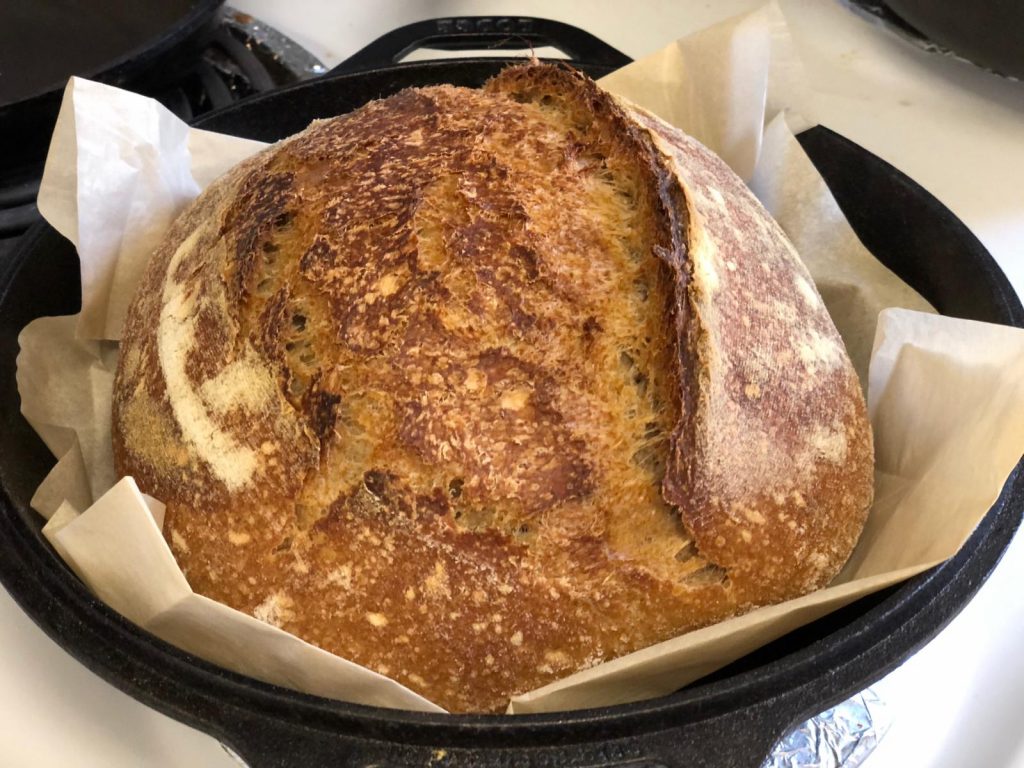
- Cook it. Lift the dough by the paper it’s sitting on and pop it into your hot Dutch oven. Remember pan if you are using the same Dutch oven as I. Close the lid of the Dutch oven with the bread and paper inside. Let it cook. Don’t expect any smells at this phase. And do not open the oven.
timer“Hey Siri, set a timer for 20 mins.”- After 20 mins, dial back the oven temperature to 450F (232C) and quickly remove the lid off your Dutch oven. Your bread should have risen while still looking light in color. The next process (without the lid) will give it color, texture and flavor.
timer“Hey Siri, set a timer for 30 mins.”
— [TIP]: You can stretch this phase to 40 mins if the color of the bread isn’t developed yet. Remember, not all ovens are created equal. You will now smell the fresh bread aromas floating around the house. Kids love this part but keep them away from opening the oven door 😉- After the 30-40 mins timer goes off, turn the oven off and slightly ajar the oven to let the flavors develop even further.
timer“Hey Siri, set a timer for 10 mins.”- Done. Take the bread out and let it cool off for 30 mins before consuming it.

Batman aka Josh Semerda approves the Sourdough homemade bread
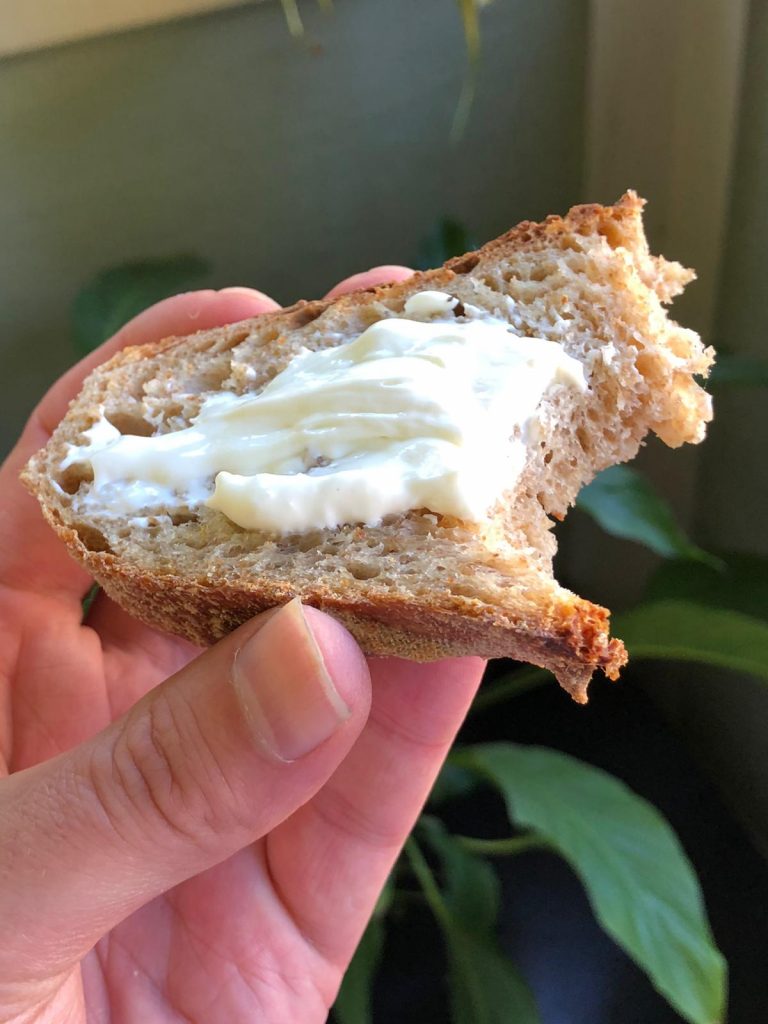
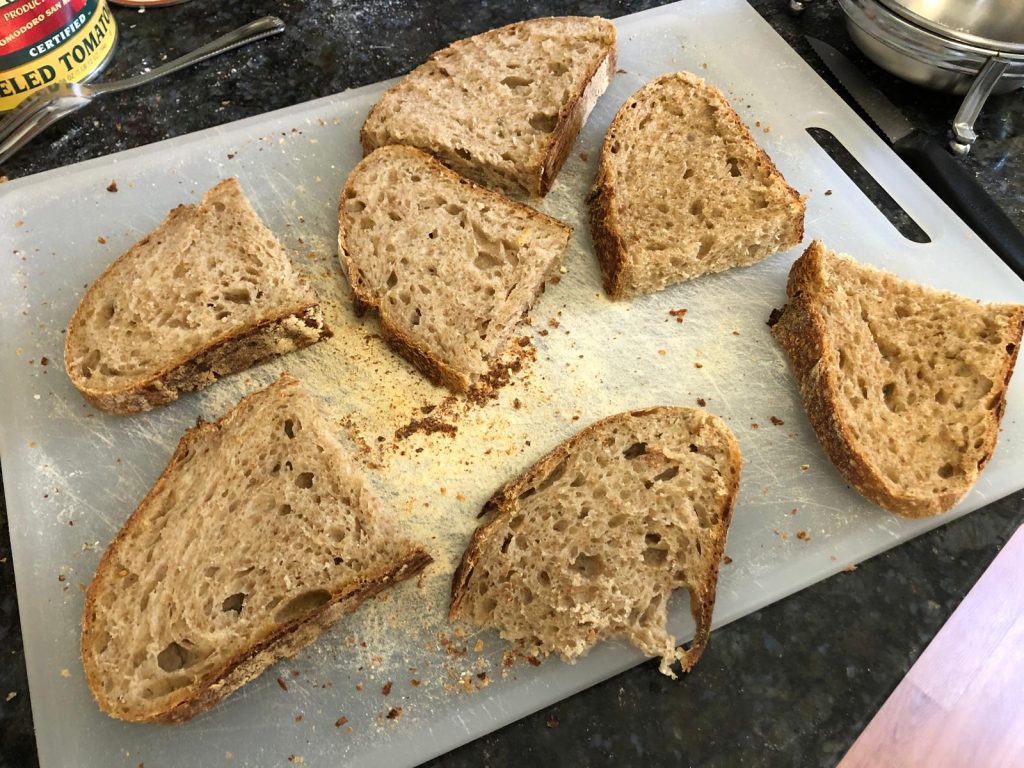
I now have a new appreciation for bakers.
It is a very time consuming process to make sourdough bread; however it is also a very rewarding experience. It all balances out nicely.
Enjoy!
PS. Follow me on Instagram. I post my Sourdough bread pictures on Instagram and would love to see yours too.