


This post is a follow on to my previous titled The Ultimate Quarantine Sourdough Bread Baking Guide. This post is geared to all those busy bee mums & dads, entrepreneurs and software engineerings burning the midnight oil. The focus of this post is on “timing”. Something we all have little of but want to maximize the most of.
As you may have already learnt, baking Sourdough bread is a long process. Sometimes it can feel like it’s 2 days worth of work. Trying to bake bread during a weekday is next to impossible; even in quarantine (covid-19 era). However the tension and pressure of most busy bee’s responsibilities typically starts to ease up after 5pm. That’s the ideal time when you can transition into Sourdough baking. Even after a stressful day, baking Sourdough bread will give you the relaxation your brain needs. It is a perfect way to end the day and start the next day with a fresh warm loaf and a house full of fresh bread aromas. Tried and tested in our kitchen. Before you start baking, make sure your kitchen is completely clean, you could even consider installing washable ceiling tiles to make it much easier.
Ok, onwards and upwards! 

Assumptions
You have all the Ingredients, Utensils, Kitchen Temp ready to go and you have the Stretch & Fold technique bedded down? If you said nah to one of those, then please go and read my previous guide on baking sourdough bread.
Don’t forget, we will use Baker’s Ratios:
- Flour starts at 100% = 1000g — Strong/Bread Flour otherwise mix in Whole-Wheat into the White to give it a strong Protein (Gluten) structure
- Water is 70-80% = 750g (my favorite ratio is 75%)
- Starter is 15% = 150g (if you don’t have a starter then make one)
- Salt is 2% = 20g
Let’s Start!
Day 1: Fuse the Ingredients
| 5pm | Mix 1000g of flour and 750g of filtered water into a giant bowl and mash it by hand till most of the water is absorbed and it looks like a shaggy mess. |
| Cover the bowl with a kitchen towel and let it rest for 1 hour. | |
timer “Hey Siri, set a timer for 1 hour.” | |
| 6pm | Add Starter and Salt to the Dough then do the Stretch & Fold INSIDE the bowl. |
timer “Hey Siri, set a timer for 1 hour.” |
Day 1: Stretch & Fold the Dough
This process is all about building a nice gluten structure in your dough. As the water is absorbed by the flour, the gluten will swell to form a continuous network of fine strands giving it that elastic and extensible nature.
| 7pm | Spray your bench and hands with water. This will avoid the dough from sticking to the bench or your hands and make it easier to work with. Now take the dough OUT of the bowl and onto the wet bench. You will Stretch and Fold the dough on a bench before putting it back into the bowl. You will soon realize why this technique is better than doing it inside the bowl because: (a) less sticky all round and (b) more control for the stretch & fold to build gluten structure and ultimately yield that oven spring we all want from our sourdough bread. |
| Stretch & Fold. Use the Star Fish approach to Stretch & Fold. | |
timer “Hey Siri, set a timer for 1 hour.” | |
| 8:15pm | Repeat the same approach as at 7pm. |
timer “Hey Siri, set a timer for 1 hour.” | |
| 9:30pm | Repeat the same approach as at 7pm. |
timer “Hey Siri, set a timer for 1 hour.” | |
| 10:15pm | Repeat the same approach as at 7pm. |
timer “Hey Siri, set a timer for 1 hour.” |
Day 1: Pre/Shape the Dough
| 11:15pm | Pre-Shape. See Stage 2: Shaping & Proofing #3 for how this is done. |
timer “Hey Siri, set a timer for 1 hour.” | |
| 12:30am | Final-Shape. See Stage 2: Shaping & Proofing #5-#7 for how this is done. |
| 12:45am | Fridge overnight the banneton baskets so they can finish proofing. I like to give this process around 8 hours. |
Sleep.. 


Day 2: Let’s Bake it!
| 8:45am | Pre-heat the Oven for 1 hour on 500F (260C). You can speed the preheating with the Broil setting. If you need help understanding your oven icons, you can visit appliancehunter.co.uk. Also make sure your Dutch Oven is inside the oven as it’ preheating. |
timer “Hey Siri, set a timer for 1 hour.” | |
| 9:45am | Take one of your proofed baskets with dough out of the fridge and onto baking/parchment paper. Scour the dough and pop it into the oven for 20 mins baking time. The overnight fridge proofing will also give you dough more rigidity when you scour. |
| 10:00am | timer “Hey Siri, set a timer for 20 mins.” |
| 10:20am | Dial back the oven to 450F (232C) and quickly remove the lid off your Dutch oven letting the loaf gain some color, character and flavor for the next 40 mins. |
timer “Hey Siri, set a timer for 40 mins.” | |
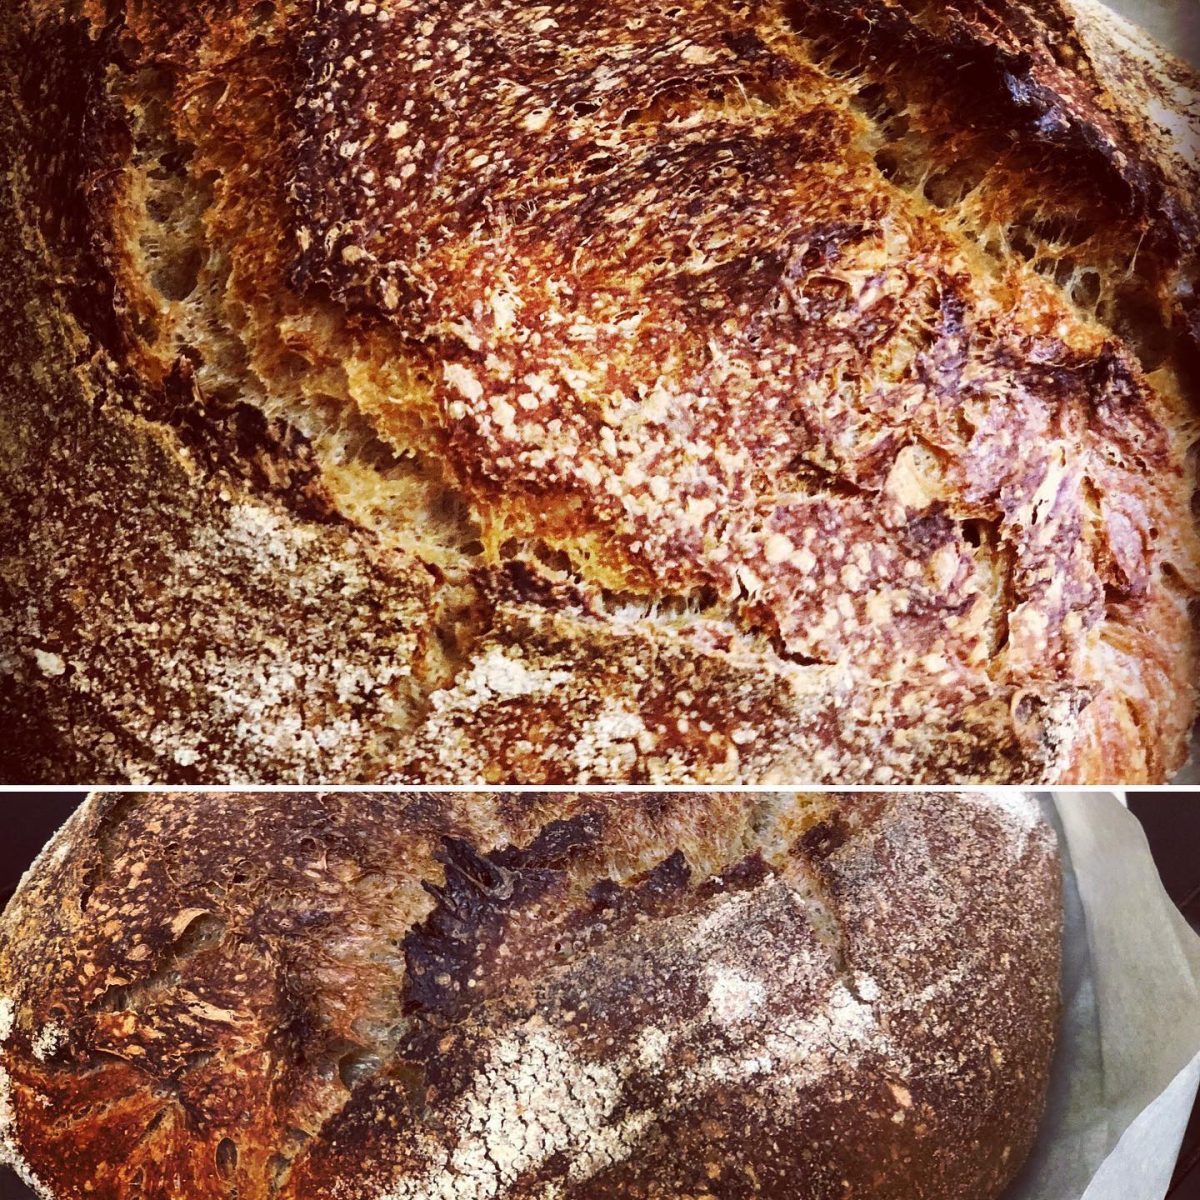
| 11:00am | Done. Take a peek to make sure the loaf has a nice splitting bursting lark full of color and texture. You can leave it in the oven for a tad longer if required. Take the loaf out of the oven and let it cool off for at least 20-30 mins before cutting into it. |
Bon Appétit!   |
I hope this was helpful and you’ll be baking delicious finger licking sourdough bread in no time.
PS. Follow me on Instagram. I post my Sourdough bread pictures on Instagram and would love to see yours too.

